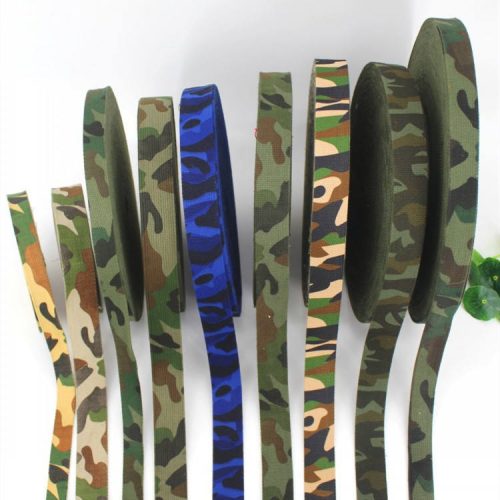
Dyeing and customizing cotton webbing can be a fun and creative project to personalize your accessories, clothing, or home decor. Here are some creative ideas and techniques you can try:
- Ombre Effect: Create a gradient effect by dipping different sections of the cotton webbing into a dye bath of varying strengths. Start with the lightest color at one end and gradually transition to a darker shade at the other end.
- Tie-Dye: Use traditional tie-dye techniques to create vibrant and unique patterns. Twist, fold, or scrunch the cotton webbing, secure it with rubber bands, and then apply dye in different colors to the sections you’ve separated.
- Bleach Dye: Instead of adding color, remove color with bleach. You can create intricate designs by applying bleach with a brush, spraying it, or even using stencils. Make sure to do this in a well-ventilated area and take safety precautions.
- Stenciling: Use stencils to apply designs onto the cotton webbing. This could include shapes, letters, or intricate patterns. Secure the stencil in place and use a sponge or brush to apply the dye.
- Block Printing: Carve a design onto a rubber block and use it to stamp your desired pattern onto the cotton webbing. This technique allows for precision and repeatability.
- Marbling: Create a marbled effect by floating different colors of dye on water and then gently laying the cotton webbing on top of the water’s surface. The dye will adhere to the fabric in a unique and organic pattern.
- Screen Printing: This technique is a bit more involved but can yield professional-looking results. Create a custom screen with your desired design and then use screen printing ink to transfer the design onto the webbing.
- Natural Dyes: Experiment with natural dye sources like onion skins, avocado pits, turmeric, and more to create a range of earthy and organic colors.
- Hand-Painting: Use brushes or sponges to paint directly onto the cotton webbing. This allows for free-form designs and intricate detailing.
- Stitching and Shibori: Use thread to stitch or tie the cotton webbing into various patterns before dyeing. When you remove the stitches or ties after dyeing, you’ll reveal unique resist patterns.
- Layering and Mixing: Combine multiple dyeing techniques for a multi-dimensional effect. For example, you could first dip-dye the webbing and then apply stenciled designs on top.
Remember to conduct tests on small pieces of cotton webbing before tackling your main project to ensure you achieve the desired results. Additionally, work in a well-ventilated and protected area, as dyes and chemicals can be messy and potentially harmful. Have fun experimenting and expressing your creativity through customizing cotton webbing!


