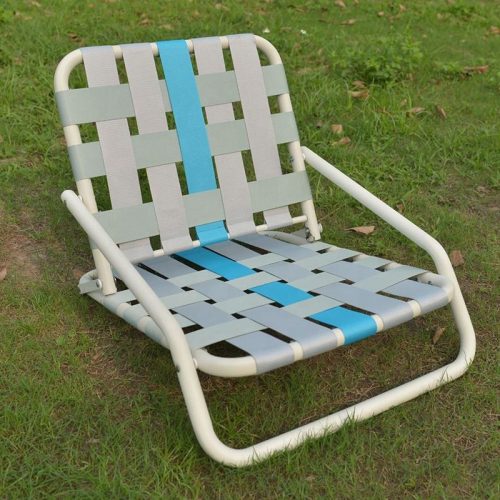
Revitalizing a chair stylish webbing can breathe new life into an old or worn-out piece of furniture. Here’s a step-by-step guide to help you refresh your chair with fashionable webbing:
Materials You’ll Need:
- Chair with a removable seat or back
- Stylish webbing material of your choice (jute, elastic, polypropylene, nylon, rubber, etc.)
- Scissors
- Staple gun and staples
- Upholstery tacks (if preferred)
- Hammer
- Screwdriver (if needed to remove the seat or back)
- Measuring tape
Steps:
- Preparation:
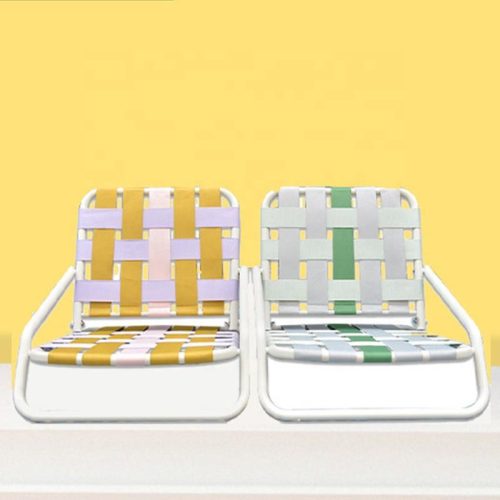
- Start by choosing the type of webbing that matches the style and purpose of your chair. Consider the existing color scheme, overall design, and desired level of comfort.
- Remove the Seat or Back:
- If your chair has a removable seat or back, carefully detach it from the frame using a screwdriver or appropriate tools. This will make it easier to work with the webbing.
- Remove Old Webbing (If Necessary):
- If your chair already has old webbing, remove it by carefully taking out the staples or tacks. This will provide a clean surface for the new webbing.
- Measure and Cut:
- Measure the length and width of the area where you’ll be attaching the webbing. Add a few inches to each measurement to ensure you have enough material to work with.
- Cut the webbing material to the appropriate size using scissors.
- Attach the Webbing:
- Position the webbing over the seat or back frame, ensuring it’s centered and straight.
- If using a staple gun, start by securing one end of the webbing to the frame using staples. Pull the webbing taut as you go and staple the other end in place.
- If using upholstery tacks, press the tacks through the webbing and into the frame, spacing them evenly along the edges.
- Weave the Webbing:
- For woven or mesh patterns, weave the webbing over and under the opposite strips, creating a tight and secure surface.
- Pull the webbing tight to provide adequate support while maintaining an even tension across the entire surface.
- Secure the Other End:
- Once you’ve woven the webbing across the frame, secure the other end with staples or tacks in the same manner as the first end.
- Trim Excess Material:
- Trim any excess webbing material, leaving a neat and clean edge.
- Reattach the Seat or Back:
- If you removed the seat or back, carefully reattach it to the chair frame using screws or appropriate fasteners.
- Finishing Touches:
- Check the webbing for even tension and stability. Adjust as needed.
- If using upholstery tacks, use a hammer to make sure they’re securely in place.
- Wipe down the chair to remove any debris or dust.
By following these steps, you can transform your chair into a stylish and comfortable piece of furniture with refreshed webbing. Remember to choose a webbing material that complements your design vision while also considering durability and comfort.